How I Work
When you're deciding whether to tackle a roof, siding, window or deck project, the process can feel overwhelming. There are materials to compare, contractors to evaluate, and a dozen decisions that ripple through the whole job. I walk homeowners through that decision step by step, because the difference between a project that holds for decades and one that fails early isn't luck — it's preparation.
Here's exactly how I approach work like this, what you should be asking at each stage, and how to know when you've found the right contractor for the job.
Step Through It
Assess the current condition
Before any recommendation, I spend time on-site understanding what you're working with. A roof leak that looks like it came from a failed flashing might actually be an underlayment issue. Siding that feels soft might be localized rot or a ventilation problem across the whole wall. This stage answers the fundamental question: what's actually broken, and why?
Understand your priorities
Budget matters, but so does durability, aesthetics and peace of mind. Some homeowners want the lowest-cost option that will last. Others prioritize materials that complement their home's style even if the price goes up. I listen for what matters to you, because the "best" choice is the one that meets your actual priorities, not mine.
Present your options with real numbers
You get a written comparison of materials and methods, with the lifespan, cost and maintenance profile of each. This isn't guesswork — it's drawn from what these materials actually deliver on jobs like yours. I've lived with the consequences of every recommendation I've made, and that changes how specific I get about trade-offs.
Execute the work at the standard it deserves
Once you've chosen, the crew shows up prepared. Materials are staged correctly. The crew knows the sequence. Details like flashing or underlayment placement get the same attention as the visible surface, because the work that fails is almost never the part you can see.
The Options Compared
| Material | Lifespan | Maintenance | Cost Range |
|---|---|---|---|
| Asphalt Shingles | 15–25 years | Annual inspections; moss or debris removal | $6,000–$12,000 |
| Architectural Shingles | 20–30 years | Annual inspections; occasional cleaning | $8,000–$15,000 |
| Metal Roofing | 40–70 years | Minimal; inspect fasteners and seams | $12,000–$25,000 |
| TPO / Rubber (Flat) | 15–25 years | Annual inspections; keep clean | $5,000–$10,000 |
| EPDM (Rubber Membrane) | 20–30 years | Annual inspections; avoid foot traffic | $4,500–$9,000 |
What to Consider First
The lifespan number in a sales pitch isn't what matters. What matters is the lifespan you'll actually get in your climate, on your roof's orientation and pitch, with the maintenance you're actually willing to do. A 50-year metal roof fails at 20 years if the fasteners aren't checked. A 15-year asphalt roof lasts 25 if you keep debris clear and fix small problems early.
Material choice also depends on what comes next. If you're planning to stay in the home for 30 years, a higher upfront cost often makes sense if the material outlasts your ownership timeline. If you might sell in 10 years, the lowest-cost solid option often beats the premium material.
What It Should Look Like When Done
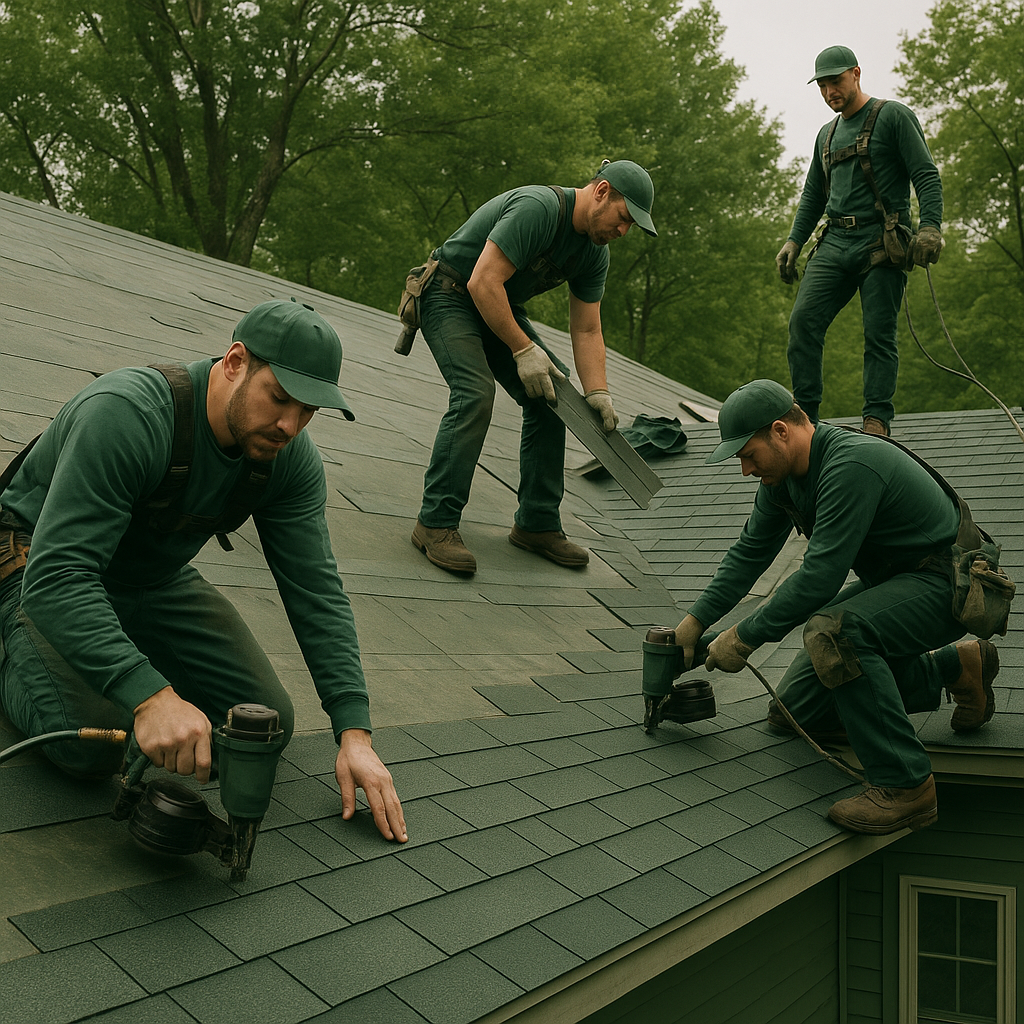
A finished roof, siding or window project should feel durable and look like it was installed by someone who understood the details. Flashing sits flat and sealed. Shingles run in straight courses. Siding seams are tight. Windows open smoothly and the trim is caulked to keep water out.
The less obvious part — the part that separates a job that lasts 30 years from one that fails at 15 — is what you don't see. Underlayment is secured correctly. Ventilation paths are open. Fasteners are placed at the right spacing and angle. Caulk is applied to joints that move, not to joints that need to stay open. These details aren't optional extras. They're the difference between a roof that holds and one that leaks.
See It in Action
Here's a professional roof leak repair in progress — you'll see how the crew approaches assessment, material staging, and the detailed work that prevents future problems.
What It Typically Costs
-
$300–$600
A thorough site visit, photos, and a written condition report. This fee is often waived if you move forward with the work, but getting it done right saves thousands later.
-
Included
Once you know the scope, you get a detailed breakdown of materials, labor and timeline. No surprises, no markups hidden in the final bill.
-
$6,000–$25,000+
Labor and materials for the work itself. The spread is wide because a roof replacement on a simple ranch house is nothing like one on a complex multi-story home with skylights and valleys.
-
Included
You get a walkthrough of the finished work, a photo record, and the warranty documentation. This is yours to keep for the life of the project.
Additional Resources
- ENERGY STAR — Windows, Doors & Skylights — the EPA's own buying guidance for comparing certified replacement options
- North American Deck & Railing Association — certification and safety standards for deck and railing work